Item Operations
Required Permissions
- Setup Items
- ability to add, view, edit and delete items
- View Items
- ability to view items in read-only mode
- View Reports
- ability to print and export reports from Item tab
Add Item
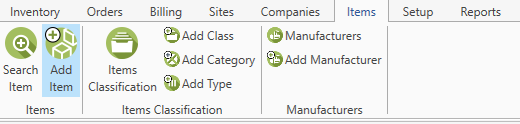
- Go to Items section of the main menu.
- Select Add Item menu item.
The following window opens:
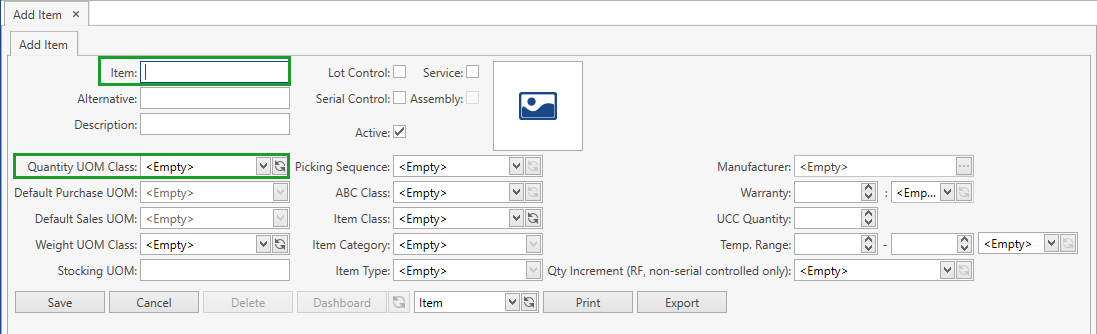
- Specify all the necessary attributes.
- Owner field is visible only if Ownership mode has been set up as Item Level in System Settings.
- Fields that are highlighted in green in the screenshot are required.
- Active box is checked by default.
- Click Save button.
- Click Cancel button if you want to cancel adding of a new item.
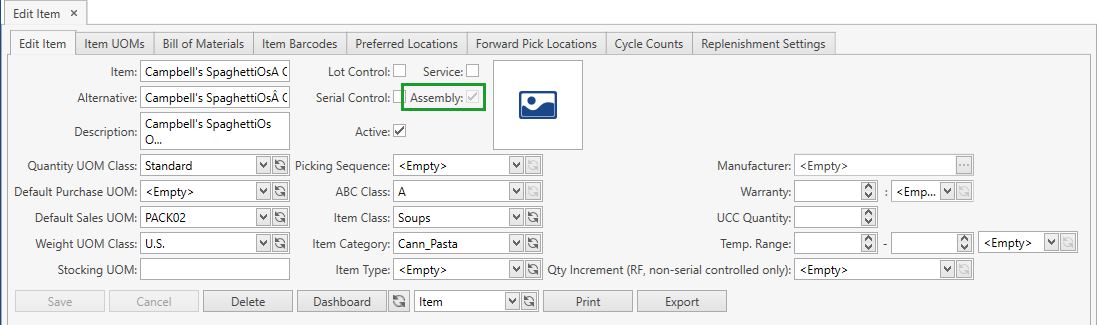
Edit Item
After saving the changes in Add Item tab, you will be redirected to Edit Item tab.
You can also get to Edit Item tab from Search Item screen.
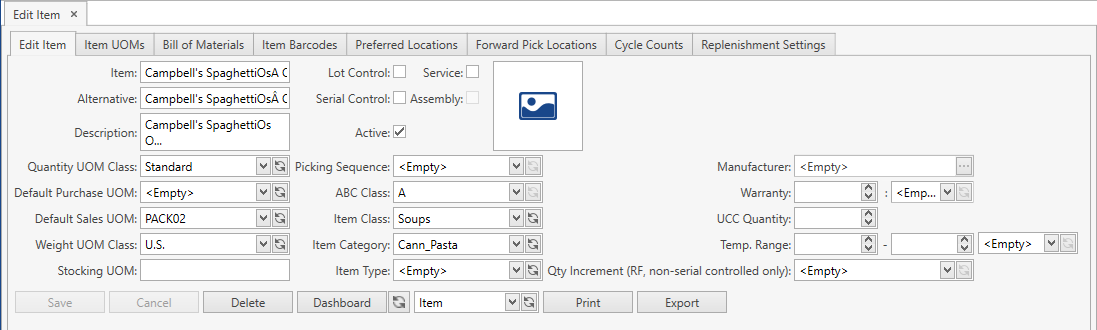
The following functions are available:
Save: applies the changes made.
Cancel: resets the unsaved changes.
Delete: deletes the item from the system.
Note. You cannot delete an item if it has stocks or order lines associated with it.
Print: prints one of the following reports selected from the drop-down list:
- Item (displays the item data from Item tab)
- Item Component (displays item components specified in Bill of Materials)
- Item Flow (displays the flow of stocks of the respective item for the selected date range)
Export: exports the selected report.
Dashboard: displays the summary data for stocks of the respective item:
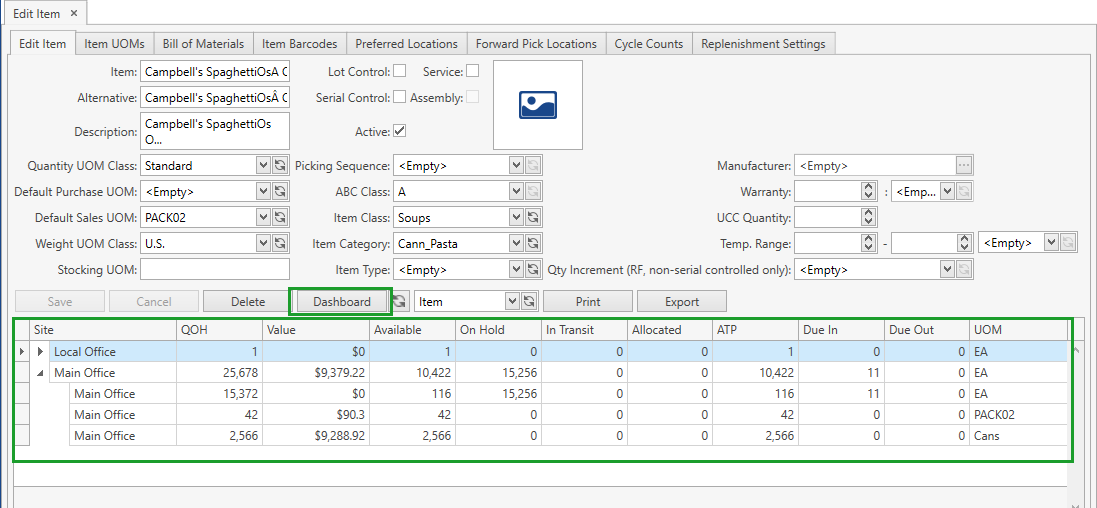
The data displayed within the dashboard:
Site: site where stocks of the item are stored
QOH (Quantity on Hand): the total quantity of stocks that are physically stored at the site; calculated as Available + On Hold + Allocated + In transit
Value: the overall item cost according to QOH; calculated as QOH Average Unit Cost, where Average Unit Cost = SUM (Qty Unit Cost) / SUM (Qty)
Available, On Hold, In Transit, Allocated: the quantity of stocks in the respective status
Available to Promise: calculated as Available + Allocated + In transit - Due out
Due In: items to be received; calculated as follows:
Due In = (RO Ordered Qty - RO Received Qty) + (KWO Build To Qty - KWO Built To Qty) + (KWO Unbuild To Qty - KWO Unbuilt To Qty) + (TO Ordered Transfer Qty - TO Transferred Qty), where RO stands for Receiving Order, TO – for Transfer Order and KWO – for Kitting Work Order
Due Out: items to be shipped/used for building another items; calculated as follows:
Due Out = (SO Ordered Qty - SO Shipped Qty) + (KWO Build From Qty - KWO Built From Qty) + (KWO Unbuild From Qty - KWO Unbuilt From Qty) + (TO Ordered Transfer Qty - TO Transferred Qty), where SO stands for Shipping Order, TO – for Transfer Order and KWO – for Kitting Work Order
UOM: unit of measure stocks are stored in
Note 1. The calculation is carried out per site in a base UOM of the respective item; the data per site can be expanded and displayed per the combination Site & UOM as shown in the screenshot above.
Note 2. For calculating Due In and Due Out the system takes into account orders only in status New or In Process.
Item UOMs
Go to Item UOMs tab. You will see the window depicted below. You are able to view, add, edit and delete item UOMs here.
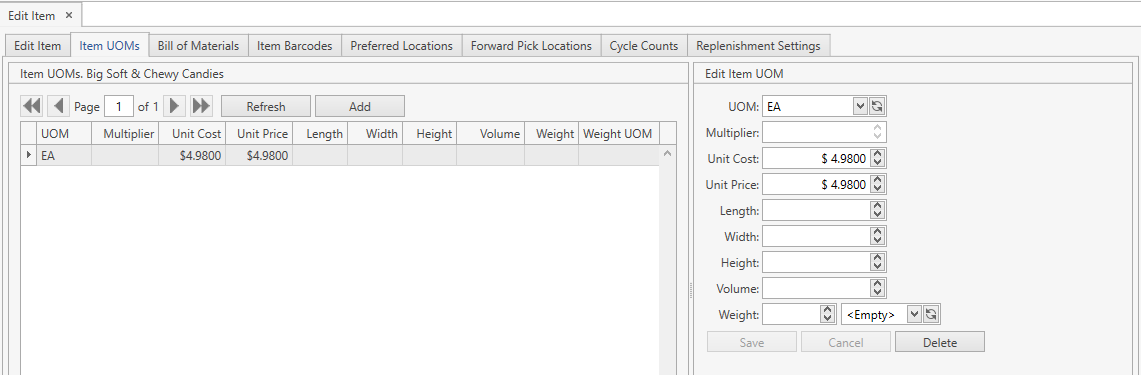
View
Use navigation buttons
 to switch the pages of the grid.
You can also customize the view of the grid and use Ctrl+F for searching.If needed, update the list of displayed item UOMs with the up-to-date data from the database by clicking Refresh button.
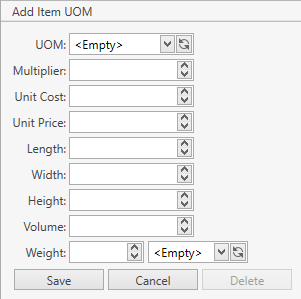
Add
- Click Add button.
- Specify the necessary attributes.
| Attribute | Required/Optional | Comment |
|---|---|---|
| UOM | Required | One of the units of measure of the item's Quantity UOM Class. |
| Multiplier | Optional | If it is specified, it is used instead of multiplier specified in the item's Quantity UOM Class. Refer also to Multipliers section. |
| Unit Cost | Optional | Used for prepopulating Unit Cost for the specified item and UOM when adding stock via inventory or adding lines to Receiving/Return/Kitting and Manufacturing Work Orders. |
| Unit Price | Optional | Used for prepopulating Unit Price for the specified item and UOM when adding lines to Shipping Orders. |
| Length | Optional | |
| Width | Optional | |
| Height | Optional | |
| Volume | Optional | |
| Weight | Optional | |
| Weight UOM | Optional |
- Click Save button. The newly added item UOM will be displayed in the main Item UOMs window.
- Click Cancel button if you want to cancel adding of a new item UOM.
Edit
- Select the necessary item UOM by clicking on it. The frame to the right contains the UOM attributes.
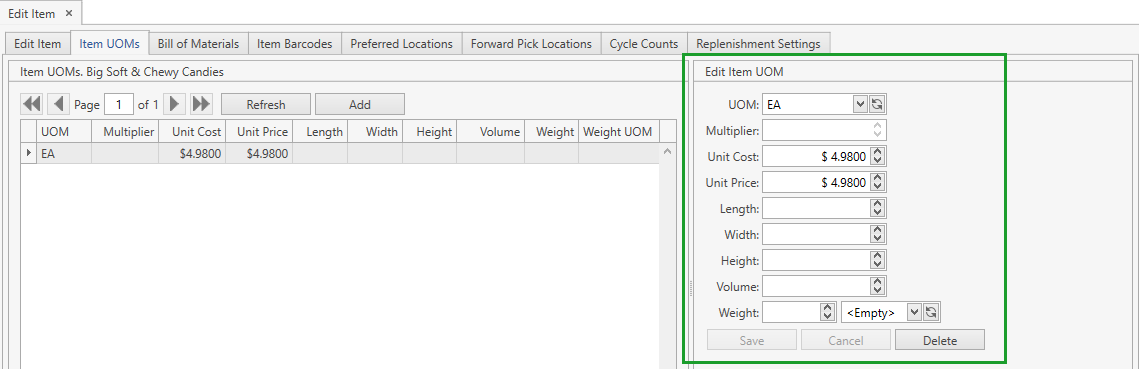
- Edit the necessary fields and save the changes.
- Click Cancel button if you want to reset the unsaved changes.
Delete
- Select the necessary item UOM by clicking on it.
- Click Delete button within the frame to the right containing the UOM attributes.
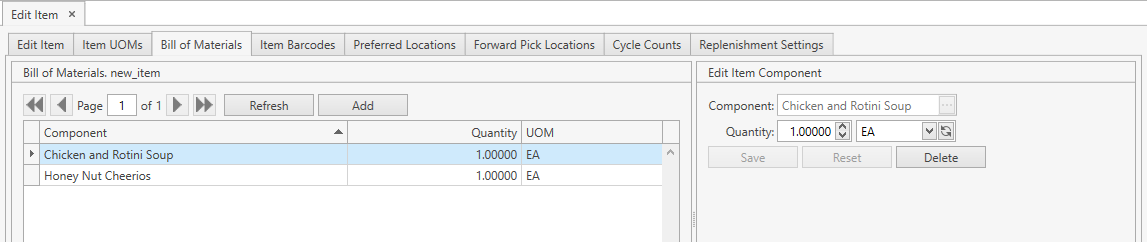
Bill of Materials
Go to Bill of Materials tab. You will see the window depicted below. You can view, add, edit and delete item (assembly) components here.
View
Use navigation buttons
to switch the pages of the grid.
You can also customize the view of the grid and use Ctrl+F for searching.If needed, update the list of displayed item components with the up-to-date data from the database by clicking Refresh button.
Add
- Click Add button.
- Specify the necessary attributes.
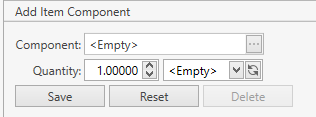
| Attribute | Required/Optional | Comment |
|---|---|---|
| Component | Required | The same component cannot be added to an item (assembly) twice. Another assembly can be added as an item component. You cannot add an item as its own component. |
| Quantity | Required | |
| UOM | Required |
- Click Save button. The newly created component will be listed in the main Bill of Materials window.
- Click Reset button if you want to cancel adding of a new item component.
Note. If Item has the specified BOM, it is marked as Assembly:
Edit
- Select the necessary item component by clicking on it. The frame to the right contains the item component attributes.
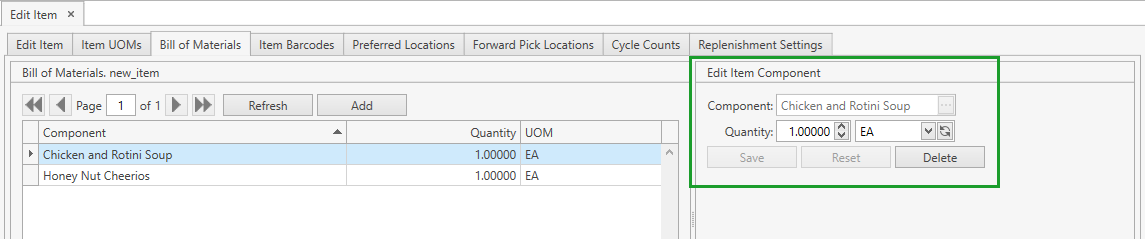
- Edit the necessary fields and save the changes.
- Click Reset button if you want to reset the unsaved changes.
Delete
- Select the necessary item component by clicking on it.
- Click Delete button within the frame to the right containing the item component attributes.
Item Barcodes
Item Barcodes can be used as alternative for Item Code when scanning/searching.
Go to Item Barcodes tab. You will see the window depicted below. You can view, add, edit and delete barcodes here.

View
Use navigation buttons
to switch the pages of the grid.
You can also customize the view of the grid and use Ctrl+F for searching.If needed, update the list of displayed item barcodes with the up-to-date data from the database by clicking Refresh button.
Add
- Click Add button.
- Specify the necessary attributes.
- Item UOM and Barcode are required.
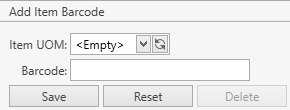
- Click Save button. The newly created barcode will be listed in the main Item Barcodes window.
- Click Reset button if you want to cancel adding of a new item barcode.
Note. You can add several barcodes for a single item UOM.
Edit
- Select the necessary item barcode by clicking on it. The frame to the right contains the item barcode attributes.

- Edit the necessary fields and save the changes.
- Click Reset button if you want to reset the unsaved changes.
Delete
- Select the necessary item barcode by clicking on it.
- Click Delete button within the frame to the right containing the item barcode attributes.
Preferred Locations
Preferred Locations are used for prepopulating location for the specified site and item when adding stock via inventory or adding details to Receiving/Return/Kitting and Manufacturing Work Orders.
Go to Preferred Locations tab. You will see the window depicted below. Preferred locations can be viewed, added, edited and deleted here.

View
Use navigation buttons
to switch the pages of the grid.
You can also customize the view of the grid and use Ctrl+F for searching.If needed, update the list of displayed preferred locations with the up-to-date data from the database by clicking Refresh button.
Add
- Click Add button.
- Specify the necessary attributes.
- Site and Location are required.
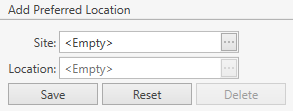
- Click Save button. The newly added preferred location will be listed in the main Preferred Location window.
- Click Reset button if you want to cancel adding of a new preferred location.
Note. Only one preferred location can be added for a single site.
Edit
- Select the necessary preferred location by clicking on it. The frame to the right contains the preferred location attributes.

- Edit the necessary fields and save the changes.
- Click Reset button if you want to reset the unsaved changes.
Delete
- Select the necessary preferred location by clicking on it.
- Click Delete button within the frame to the right containing the preferred location attributes.
Forward Pick Locations
FPL is used during allocation as a first Location which will be checked for the suitable stock.
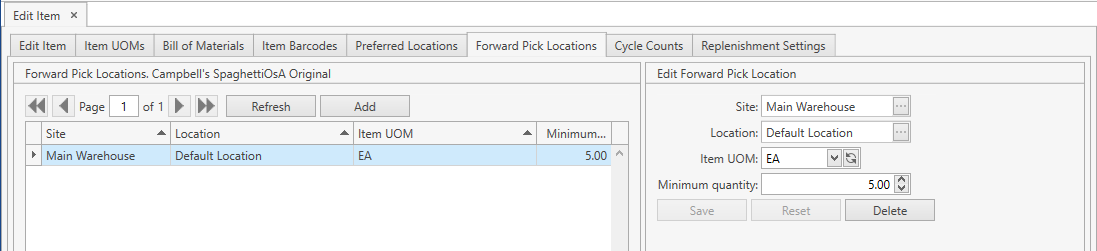
Go to Forward Pick Locations tab. You will see the window depicted below. FPLs can be viewed, added, edited and deleted here.
View
Use navigation buttons
to switch the pages of the grid.
You can also customize the view of the grid and use Ctrl+F for searching.If needed, update the list of displayed FPLs with the up-to-date data from the database by clicking Refresh button.
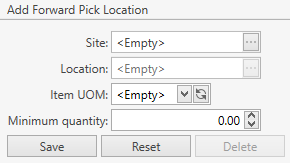
Add
- Click Add button.
- Specify the necessary attributes.
- Site, Location and Item UOM are required.
| Attribute | Required/Optional | Comment |
|---|---|---|
| Site | Required | |
| Location | Required | |
| Item UOM | Required | |
| Minimum Quantity | Optional | Minimum Quantity is specified for backup replenishment purposes and used in the report FPL Replenishment that can be printed from Reports Center. |
- Click Save button. The newly added FPL will be listed in the main Forward Pick Locations window.
- Click Reset button if you want to cancel adding of a new FPL.
Edit
- Select the necessary FPL by clicking on it. The frame to the right contains the FPL attributes.
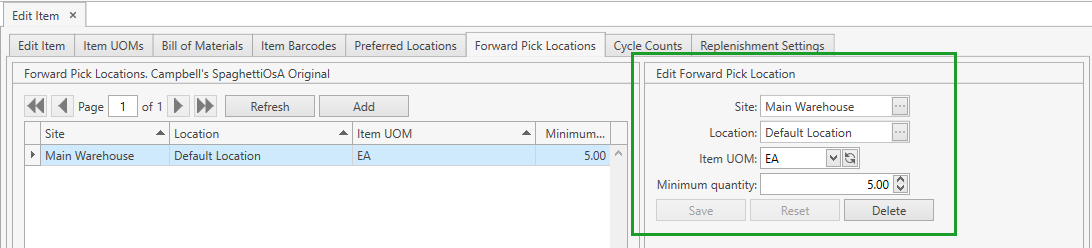
- Edit the necessary attributes and save the changes.
- Click Reset button if you want to reset the unsaved changes.
Delete
- Select the necessary FPL by clicking on it.
- Click Delete button within the frame to the right containing the FPL attributes.
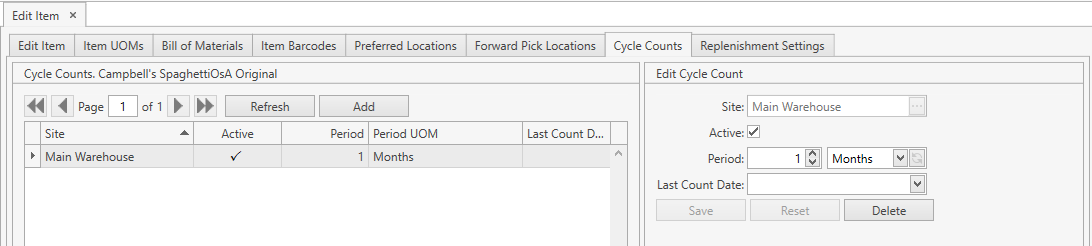
Cycle Counts
Cycle counts settings are used when generating Cycle Count Requests.
These settings are also displayed in the reports Cycle Counting Schedule and Cycle Counting Settings that can be printed from Reports Center.
Go to Cycle Counts tab. You will see the window depicted below. You can view, add, edit and delete item cycle counts here.
View
Use navigation buttons
to switch the pages of the grid.
You can also customize the view of the grid and use Ctrl+F for searching.If needed, update the list of displayed cycle counts settings with the up-to-date data from the database by clicking Refresh button.
Add
- Click Add button.
- Specify the necessary attributes.
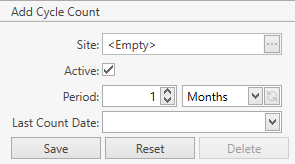
| Attribute | Required/Optional | Comment |
|---|---|---|
| Site | Required | Only one Cycle Count can be added for a site. |
| Active | Checkbox | |
| Period | Required | Shall be greater than 0. |
| Period UOM | Required | Days/Months/Years |
| Last Count Date | Optional |
- Click Save button. The newly created cycle count setting will be listed in the main Cycle Counts window.
- Click Reset button if you want to cancel adding of a new cycle count setting.
Edit
- Select the necessary cycle count by clicking on it. The frame to the right contains the cycle count attributes.
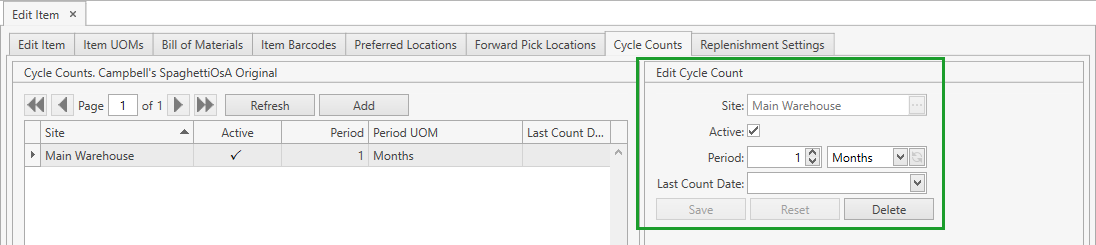
- Edit the necessary attributes and save the changes.
- Click Reset button if you want to reset the unsaved changes.
Delete
- Select the necessary cycle count by clicking on it.
- Click Delete button within the frame to the right containing the cycle count attributes.
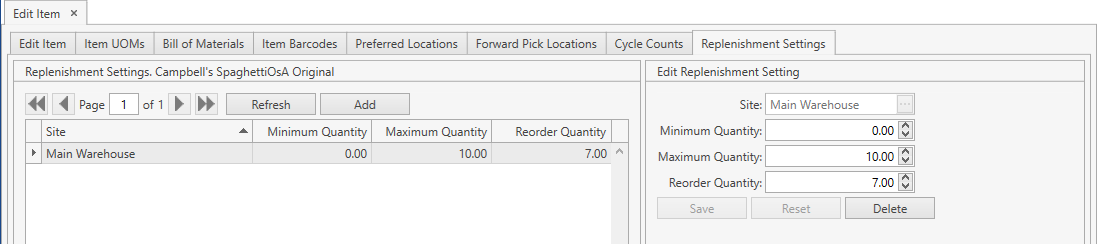
Replenishment Settings
Replenishment settings are used when generating Replenishment Orders, Replenishment Notifications, Cycle Count Requests and displayed in the reports Items for Replenishment, Overstocked Items and Projected Items for Replenishment that can be printed from Reports Center.
Go to Replenishment Settings tab. You will see the window depicted below. You can view, add, edit and delete item replenishment settings here.
View
Use navigation buttons
to switch the pages of the grid.
You can also customize the view of the grid and use Ctrl+F for searching.If needed, update the list of displayed replenishment settings with the up-to-date data from the database by clicking Refresh button.
Add
- Click Add button.
- Specify the necessary attributes.
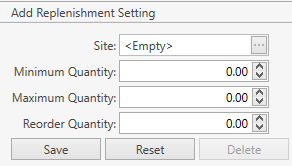
| Attribute | Required/Optional | Comment |
|---|---|---|
| Site | Required | Only one Replenishment Setting can be added for a site. |
| Minimum Quantity | Optional | |
| Maximum Quantity | Required | Shall be greater than 0. |
| Reorder Quantity | Required | Shall be greater than 0. |
- Click Save button. The newly added replenishment setting will be listed in the main Replenishment Settings window.
- Click Reset button if you want to cancel adding of a new replenishment setting.
Edit
- Select the necessary replenishment setting by clicking on it. The frame to the right contains the replenishment setting attributes.
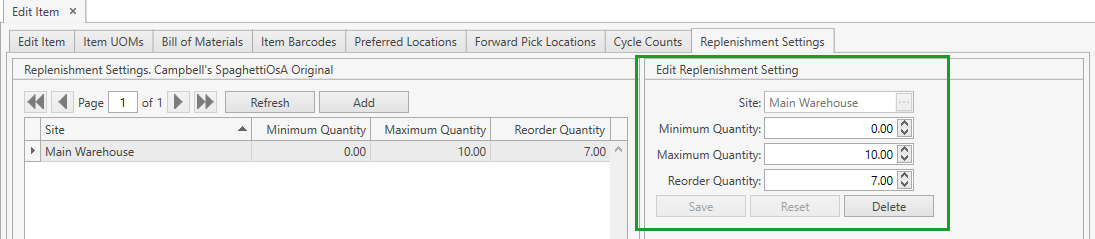
- Edit the necessary attributes and save the changes.
- Click Reset button if you want to reset the unsaved changes.
Delete
- Select the necessary replenishment setting by clicking on it.
- Click Delete button within the frame to the right containing the replenishment setting attributes.