Reports: Printing & Exporting
Printing
- Click Print button. The data of the respective report will be displayed in a separate window.
As an example, you can see below the result of printing Inventory List report from Inventory screen.
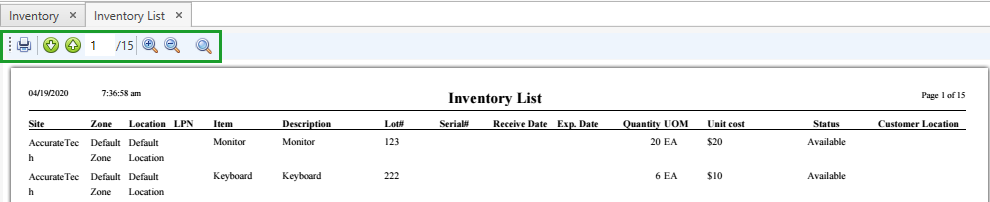
Here you can:
- print the report clicking on
 : the system opens the standard Microsoft Windows Print screen where you can select a printer and initialize the printing
 - navigate through the document pages clicking on

- go to the particular page of the report specifying the number within

- zoom in/out the report canvas clicking on

- fit width/height clicking on

Exporting
- Click Export button. The following window pops up:
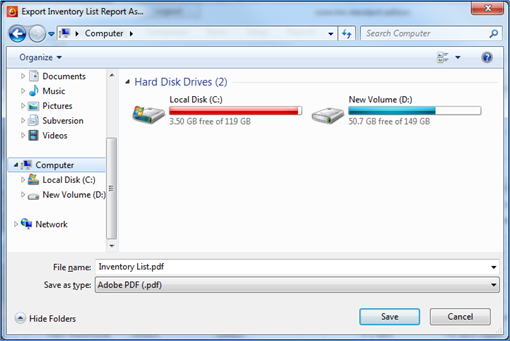
- Specify a file location on the local/network computer.
- Specify a format of the report to be saved. You can save the report in one of the following formats:
- .xls
- .doc
- Change a file name, if needed. By default the file name is the same as it is defined in Setup Reports.
- Click Save button to complete the export operation.
For reports that you can print/export based on the data from grids (the ones that are not from Reports Center), the system prints/exports the data according to the applied filters, this means that only the data that are currently displayed on the grid will be printed/exported.