Users
Required Permissions
- Setup Security
- ability to add, view, edit, delete Users
- ability to add, view, edit, delete Security Groups
- View Security Settings
- ability to view Users in read-only mode
- ability to view Security Groups in read-only mode
Users
View
Go to Setup section of the main menu.
Select Users menu item.

The following window displaying users opens:
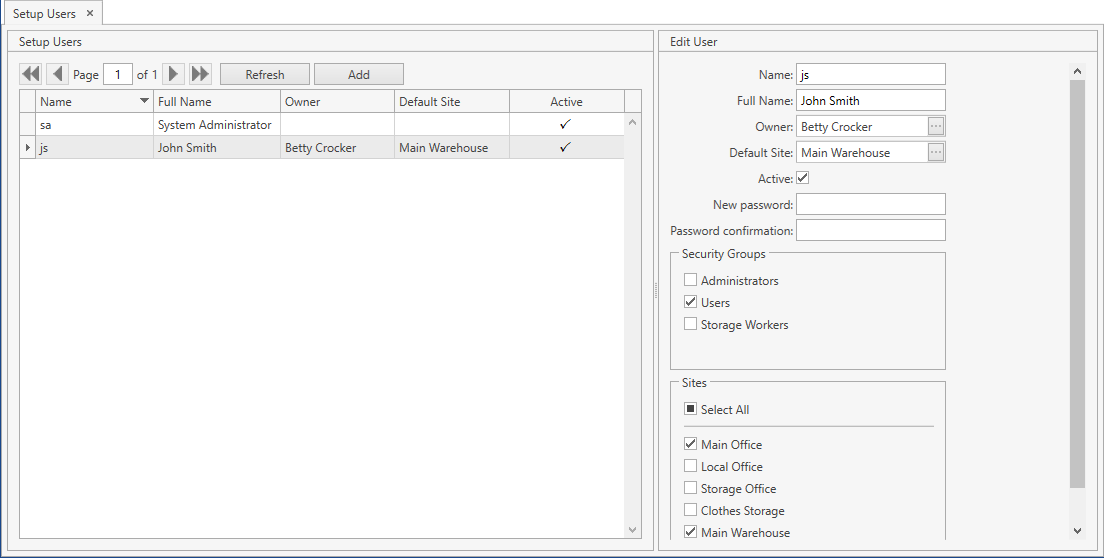
Use navigation buttons
 to switch the pages of the grid.
You can also customize the view of the grid and use Ctrl+F for searching.You can update the list of displayed users with the up-to-date data from the database by clicking Refresh button.
Add
- Select Users menu item from Setup tab of the main menu.
- Click Add button. The following frame will show up:
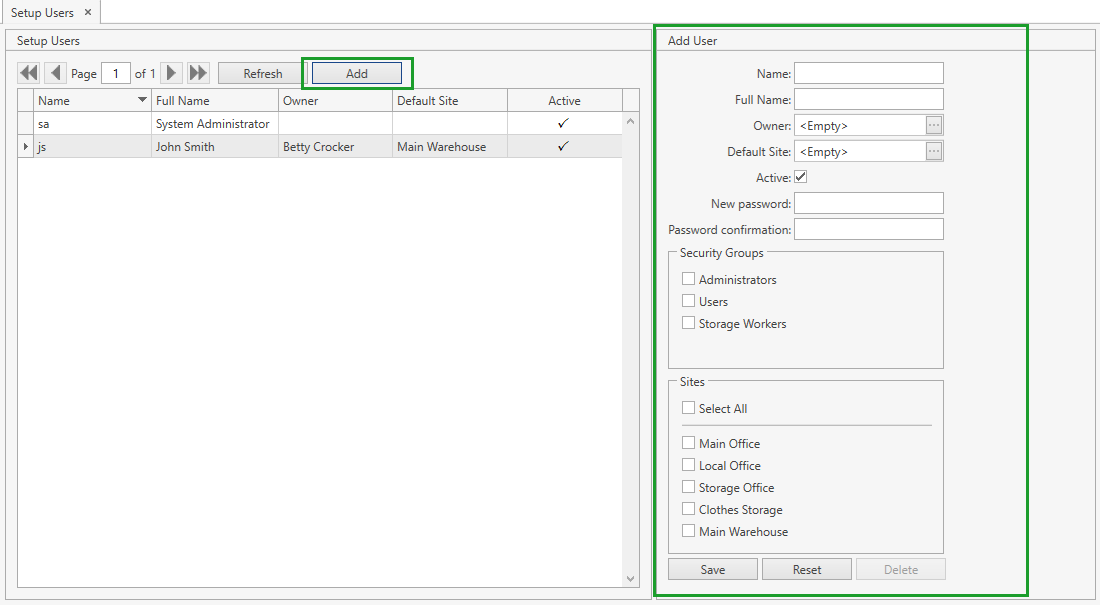
- Specify the necessary attributes.
| Attribute | Required/Optional | Comment |
|---|---|---|
| Name | Required | A short user name that will be displayed across the system, for example, in the history of transactions. |
| Full Name | Optional | A full user name. |
| Owner | Optional | Visible only if Ownership mode is set up as Item level or Stock Level in System Settings. Note that if the user has a specified Owner, they are allowed to operate with the data (e.g. Inventory, Orders, Cycle Count Requests and Sheets) only of this Owner or without an owner. |
| Default Site | Optional | Site that will be automatically prepopulated by the system for this user, for example, in orders. |
| Active | Checkbox | Checked by default. |
| New password | Required | |
| Password confirmation | Required | |
| Security Groups | Required | A list of Security Groups. |
| Sites | Optional | A list of Sites which the user will have access to. If you check Select All, all the sites will be automatically checked - you will be able to uncheck the unnecessary ones then. |
- Click Save button.
- Click Reset button if you want to cancel adding of a new user.
Edit
- Select Users menu item from Setup tab of the main menu.
- Click on the necessary user. You can edit the user within the following frame:

- Edit all the necessary attributes.
- Click Save button.
- Click Reset button if you want to reset the unsaved changes.
Delete
- Select Users menu item from Setup tab of the main menu.
- Click on the necessary user. You can delete the user account within the following frame:
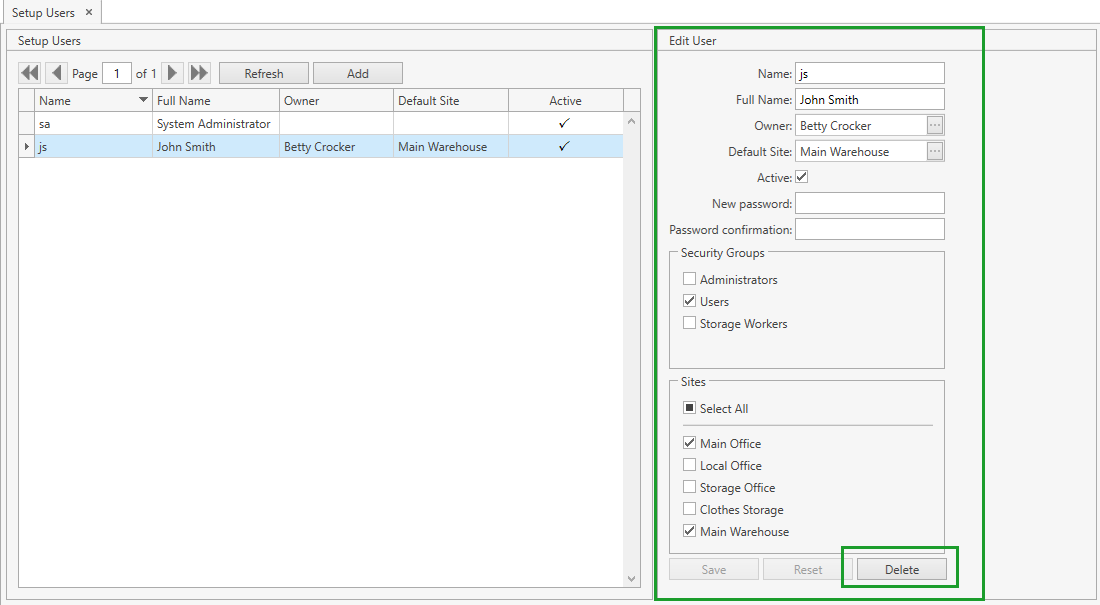
- Click Delete button.
Security Groups
Within a security group you can define a set of permissions that should be available to users assigned to this security group.
View
Go to Setup section of the main menu.
Select Security Groups menu item.

The following window displaying security groups opens:
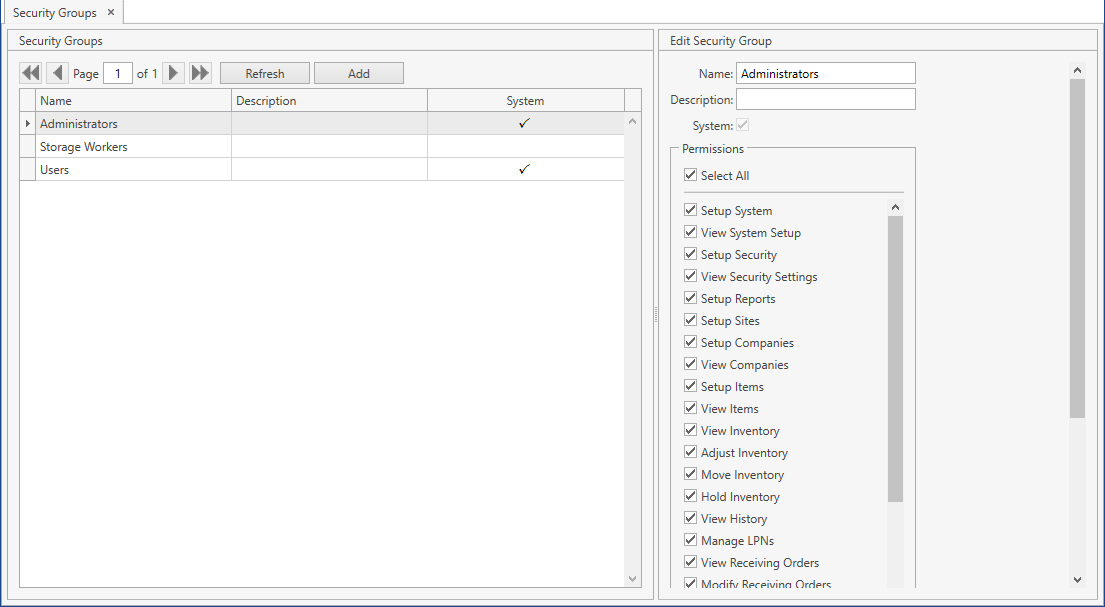
Use navigation buttons
to switch the pages of the grid.
You can also customize the view of the grid and use Ctrl+F for searching.You can update the list of displayed security groups with the up-to-date data from the database by clicking Refresh button.
Add
- Select Security Groups menu item from Setup tab of the main menu.
- Click Add button. The following frame will show up:
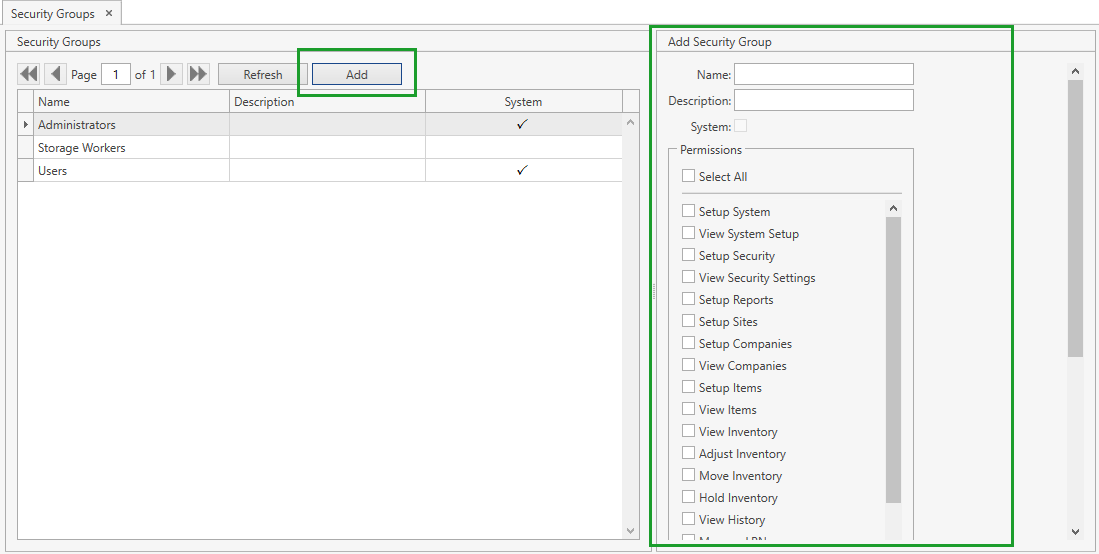
- Specify the attributes.
- Name is required.
- Check all the necessary permissions. If you check Select All, all the permissions will be automatically checked - you will be able to uncheck the unnecessary ones then.
- Click Save button at the bottom of Add Security Group frame:
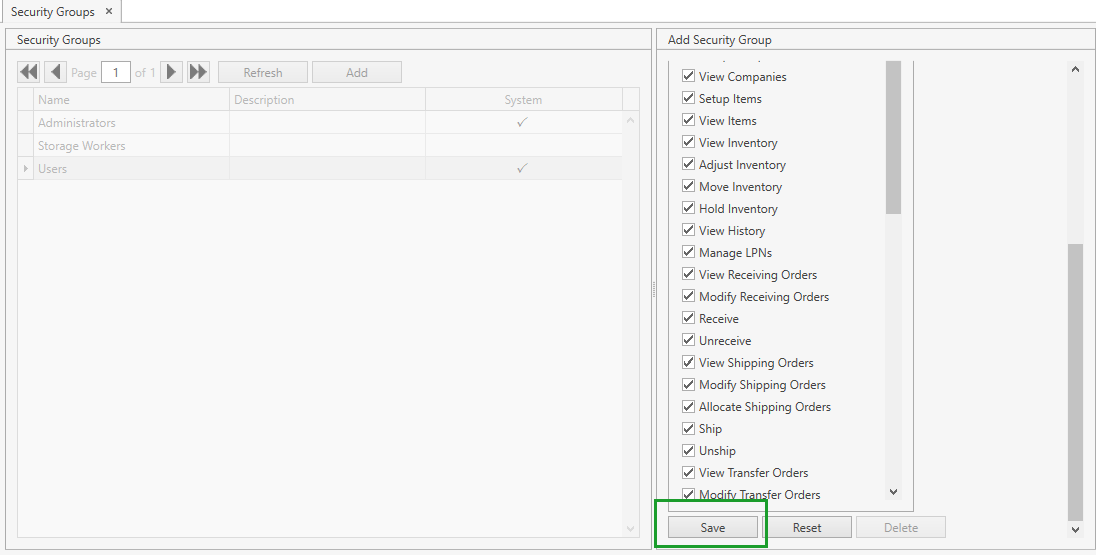
- Click Reset button if you want to cancel adding of a new security group.
Edit
- Select Security Groups menu item from Setup tab of the main menu.
- Click on the necessary security group. You can edit the security group within the following frame:
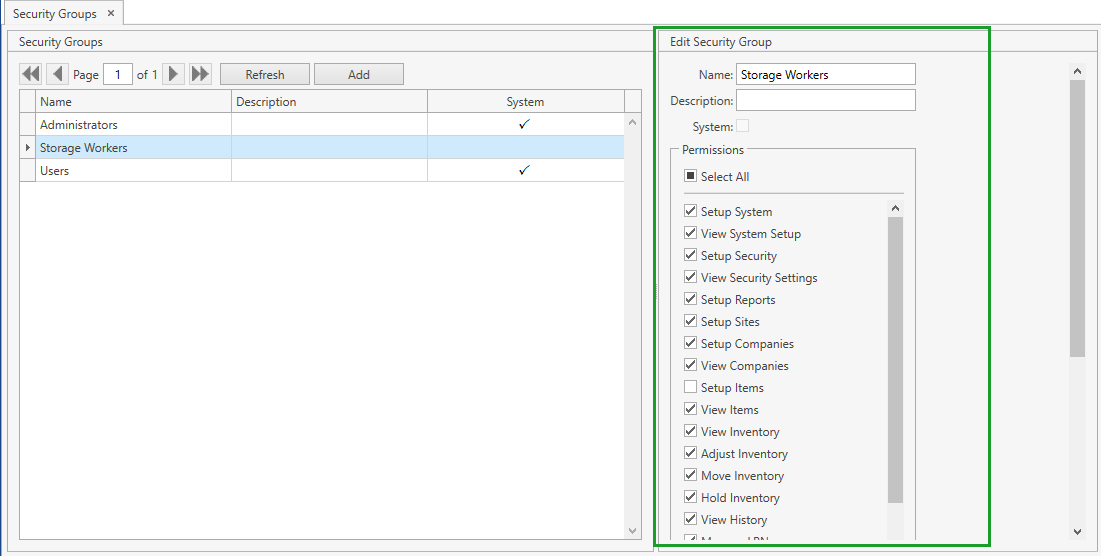
- Edit all the necessary attributes.
- Click Save button at the bottom of Edit Security Group frame:
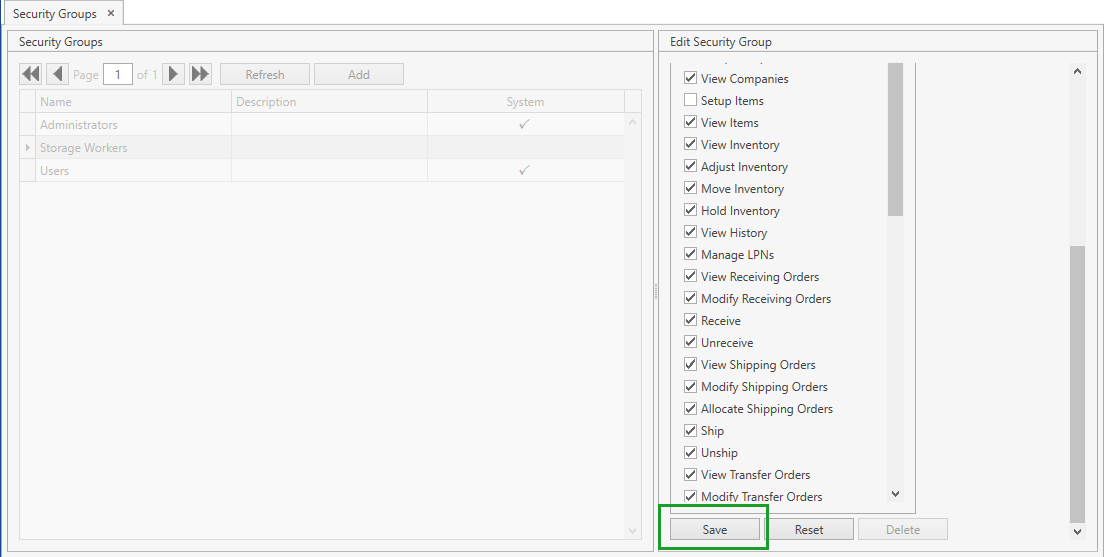
- Click Reset button if you want to reset the unsaved changes.
Delete
- Select Security Groups menu item from Setup tab of the main menu.
- Click on the necessary security group. You can delete the security group within the following frame:
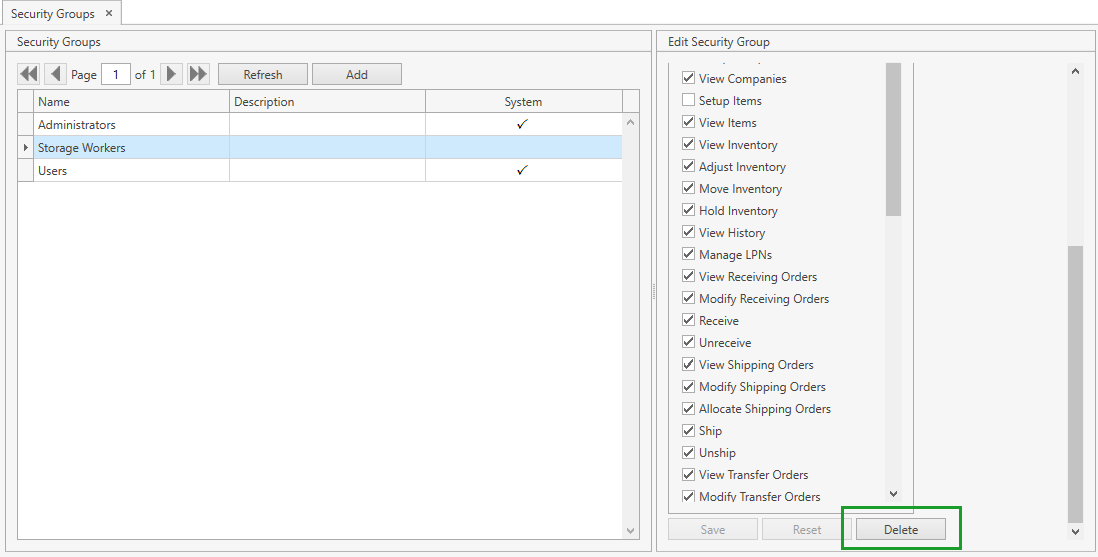
- Click Delete button.
Note. You cannot delete a security group:
- if it is marked as System;
- if there is at least one user assigned to this security group.